the Moto Mod Isnt Lined Up Correctly. Make Sure the Connector Is Clean and Try Attaching Again.
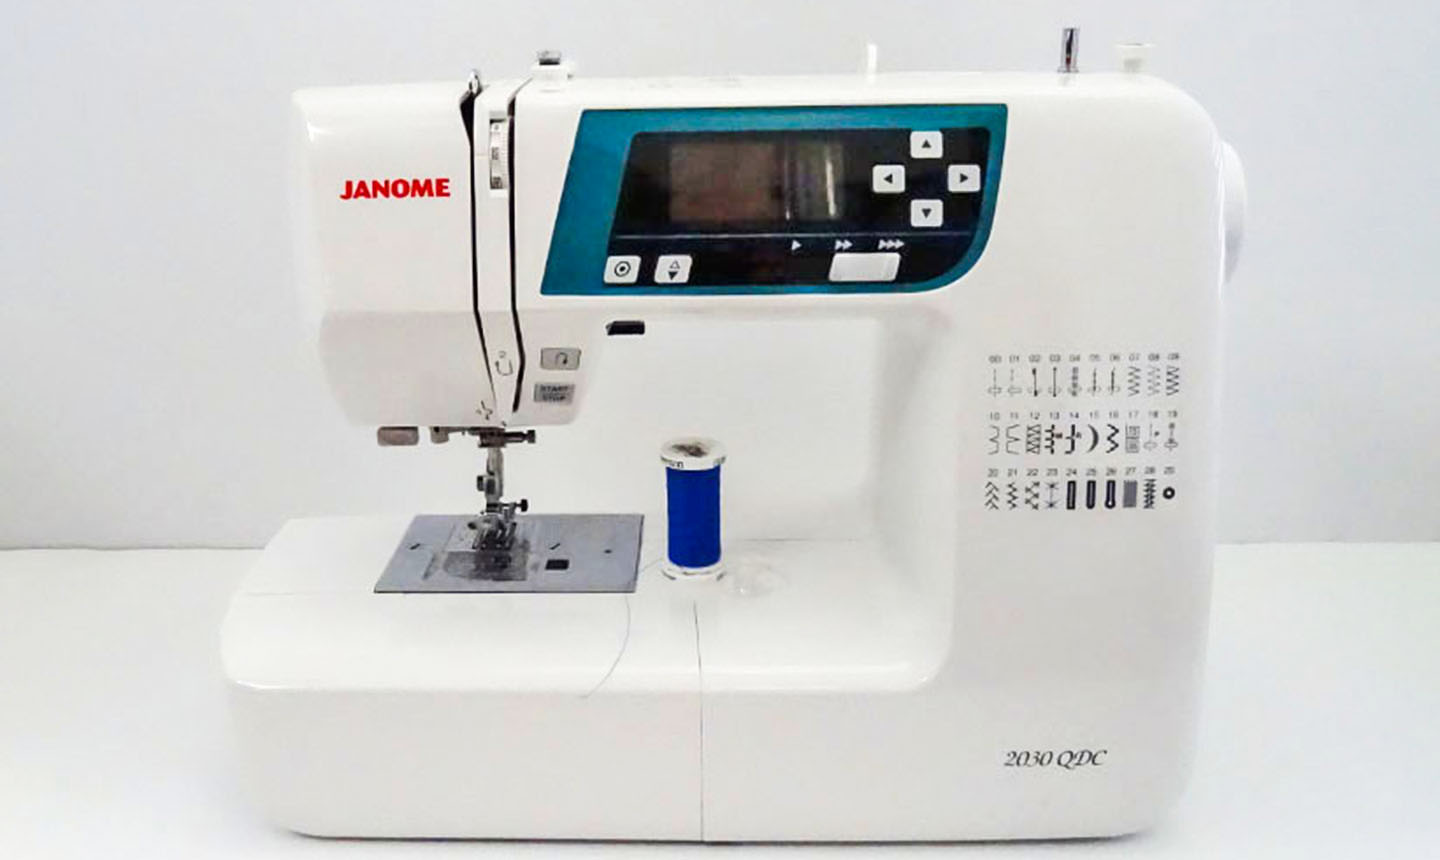
Learning your mode around a sewing machine can take fourth dimension, and fifty-fifty experienced sewers can have a few technical blunders. Hither are some of the most common issues sewers tin run into on their Janome machine, and how to fix them so y'all can go back to your project ASAP.
Skillful to Know: Most of these problems and solutions are applicable to all brands of machines, then even if y'all don't take a Janome these may help.
Problem i: There Are 3 Threads at the Presser Foot
If yous're seeing three threads at the presser foot instead of 2, your machine is still in the middle of a stitch and the "third" thread is non actually a third thread at all — it's the bobbin and needle threads looping, trying to grade a run up that you've interrupted.
Solution: Check the take-up lever (the metal hook that moves upward and downward at the elevation of the machine straight above the presser foot surface area) is in the highest position, and so elevator your presser foot. Enhance the take-upwardly lever manually by turning your handwheel toward you and "finishing" the stitch. Your fabric and threads should pull out of the machine with ease at present, as you are at the end of a stitch cycle.
Problem 2: The Fabric Isn't Moving
Most of the time, when your material isn't moving information technology's considering you're trying to sew with the presser human foot withal in the upright position. The feed dogs tin can't pull the fabric through the auto without the pes downwardly on top of them. When they try, it causes the machine to make a loud audio and the thread jams around the fabric, making a big mess.
Solution A: Simply unclog the jam, remove whatever backlog threads on the cloth and inside the automobile, then get-go again.
If your textile isn't moving and the machine is making the normal sewing-like sounds, check to see if the machine is threaded correctly. If it's threaded correctly (and the presser foot is downwardly on top of the feed dogs), it's likely your car is set to the "gratis-movement" or "darning" set, which disables the feed dogs.
Solution B: Refer to your manual for instructions on how to alter the auto back to regular sewing, which will engage the feed dogs and then they can pull the textile through the car properly.
Problem 3: The Machine Comes Unthreaded
This happens all the fourth dimension with new sewers, and it could be because of a few different issues. For starters, your threads could exist besides brusk, or they weren't nether the presser foot upon starting to sew. This would let the thread to be pulled out of the needle as the automobile sews.
Solution A: Make sure the threads from the bobbin and the eye of the needle are three-4″ long, under the presser foot and hanging back behind the machine.
Another reason this could be happening is because you finished your sewing mid-sew together and the accept-upwardly lever is not in the highest (finished) position. When that happens, the machine tries to cease the run up when y'all start sewing, sometimes unthreading the needle because it's in the eye of the sew's bike.
Solution B: When yous stop sewing, before you pick up your presser foot to pull out your projection, e'er check to make certain your take-upwardly lever is in the top position. If it isn't, turn the handwheel toward y'all and stop the stitch until the have-upwardly lever is as loftier as it will get. So pick up the presser foot and pull your project from the machine.
Problem 4: You Have Loose and Loopy Stitches
A probable culprit: the thread has fallen out of the take-up lever, which tin happen if the motorcar is jammed.
Solution A: Check if the motorcar is threaded properly, both into the tension discs and the take-upward lever. If not, re-thread the machine properly and try once again.
Your bobbin tension could also be off and causing this problem. If the thread from the bobbin isn't going into the tension expanse on the bobbin casing or in the drop-in bobbin tension surface area, and so loose and loopy stitches can happen.
Solution B: Rethread the bobbin, making sure the thread is properly inserted into the tension areas.
A 3rd spot to bank check is to see if your tension discs are on to the wrong setting on the automobile.
Solution C: The tension dial on the machine should be set up to the middle "automatic" setting on the auto. Refer to your transmission for the suggested setting if you're unsure what the automatic setting is.
Problem five: The Thread Is Really Tight
This can be a pesky problem considering information technology can create an uneven sew. It'southward likely that when threading your machine, you accidentally threaded the spool through the bobbin winding tension at the top of the machine.
Solution A: Double-check that your machine is threaded properly. If everything's correct and yous're still having these issues, try the troubleshoot below.
The other possible issue is that the tension is ready incorrectly. Most of the time the automobile sews best on the "automatic" setting, but many new sewers think they need to move this dial a lot. The reality is you can totally leave it alone on this basic setting.
Solution B: Refer to your transmission for instructions on how to set the tension at the "automatic" setting, then endeavour the sew over again.
Trouble 6: Your Machine Is Skipping Stitches
If this is happening — and resulting in an uneven-looking stitch — your needle may exist dull.
Solution: Put in a new, sharp needle. Every bit e'er, brand sure the needle is the correct blazon and size for your fabric.
quirkbetheareast36.blogspot.com
Source: https://www.craftsy.com/post/how-do-i-fix-my-sewing-machine/
0 Response to "the Moto Mod Isnt Lined Up Correctly. Make Sure the Connector Is Clean and Try Attaching Again."
Post a Comment